Are you a Harley-Davidson biker looking to learn the correct way of cleaning your motorcycle? If yes, then you are definitely in the right place.
To clean a Harley-Davidson, rinse it with low-pressure water, apply a motorcycle-specific cleaner, and use a soft sponge for scrubbing. Dry with a microfiber cloth, and use chrome polish and wax to protect the finish.
In this article, you will get to know all about cleaning Harley-Davidson bikes, how to clean Harley-Davidson bikes, inspecting your bike, and more. Continue reading to get all the answers that you are looking for.
How to clean Harley-Davidson motorcycles
With time, your Harley-Davidson bike will inevitably require a good wash. After all, your motorcycle goes up against all sorts of rough conditions on the road. It battles against mud, dust, debris, water, and other external elements while enjoying your ride.
Unfortunately, you cannot just ride your bike through the car wash. You will have to wash your motorcycle manually with extra care as many parts are exposed. Here is a short guide that will help you get started with washing your Harley-Davidson motorcycle. Not just that, you’ll also need to know how to evaluate your bike and if it requires any additional repairs. Remember, no matter how small the problem, you must get things repaired as soon as possible.
1. Gather the needed supplies
To wash your Harley-Davidson bike properly, you will have to look for a spot that gives you enough space not just for you, but also for your bike and supplies. If you are attempting to clean your motorcycle in a tight space, you will not be able to fully get at each nook and cranny.
Once you are ready, you’ll need to gather all your cleaning supplies. There are many options for cleaners, so ensure that you choose something that is suitable for your particular motorcycle. You will also need to arrange some sponges if you’re going to remove stubborn grime, brushes to clean the spoke wheels, a chamois for drying the bike, and a microfiber cloth to provide the final touches.
2. Hose down your motorcycle
Before you lather up your motorcycle, ensure that you block the exhaust with a rag, glove, or rubber plug. The main goal will be to keep the water out of the pipe, especially for motorcycles that have an exhaust angled in a way that water can easily pool up inside during the washing stage.
Next up, you should spray down your bike with a combination of water and a quality motorcycle cleanser. It will help you loosen any caked-on grime before you begin washing. When you start washing your bike, remember that less friction is always better. The harder you are scrubbing, the more likely you will drag some dirt across your motorcycle’s finish.
When you rinse, you should be careful about the water pressure. It can seem appealing to use a high-powered wash for speeding up the task, but the intensity of the water flow could hurt your bike’s paint. This is why you should stick to a gentler, standard hose.
3. Scrubbing
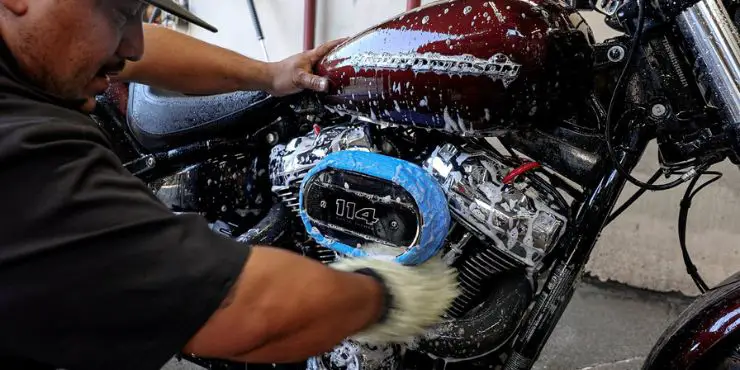
The next step will be to apply soap to your sponge or brush and then kneel by your motorcycle to scrub it thoroughly. Begin at the top of the bike and then work your way down such that you will not need to make multiple passes. Moreover, always ensure that you are using the right amount of chemicals for the surfaces that you are applying to.
Clean and rinse the sponge as you go so that you’re able to get any dirt that you’ve picked up. It is also a great idea to change out your bucket if it gets dirty. It’s a tedious task but you should do your best to avoid getting soap and water on your motorcycle’s brakes and chain. At the very least, you should make it a point that you do not scrub those parts vigorously.
4. Rinse and dry
When you are lathering up your Harley-Davidson motorcycle, you shouldn’t let it sit too long before you’re rinsing it off. The streaks that get left behind are actually caused by dry soap, so you should work at a consistent pace. You will want to remove any residue, so you shouldn’t waste time and ensure that you do a thorough job.
Water can cause corrosion if it is left in tiny crevices. Now is the time to pull out your chamois or microfiber towel. With motorcycles, you simply will not be able to get away with taking it for a ride and hoping it air dries on its own.

5. Apply the final touches
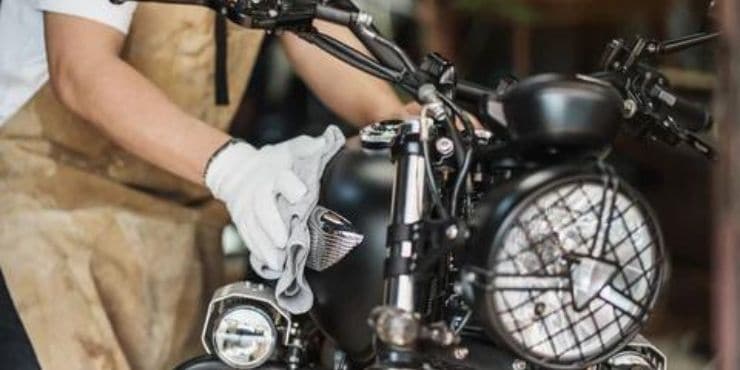
Now that your Harley-Davidson bike is nice and dry, it will be time to add the final touches. You should apply lubricant to your motorcycle’s chain, since the water and soap have most likely washed most of it away. A decent layer of waxing could help protect your motorcycle’s finish and give it a wonderful shine.
You should take some extra time to give your Harley-Davidson bike some TLC in the form of a thorough wash. You will get a clean bike that you will be proud of. Likewise, you should also do your part in keeping up with regular maintenance while you are cleaning your bike. You can always get in touch with your local dealer or a motorcycle service center to get more tips and expert opinions.
How to evaluate the condition of your Harley-Davidson bike
There are types of Harley-Davidson bikers – those who relish the practice of cleaning their bikes and those who see cleaning as a chore. Regardless of the category you belong to, you’ll need to clean your Harley-Davidson bike at some point. Not only will your motorcycle last longer, but it’ll also run better.
When you’re scrubbing dirt and gritting out the hand levers and brake discs, you’ll be able to improve their performance while also extending their life. Aside from that, you would not want rust to form. More importantly, pressure washing your bike and wiping it down every few days will offer you the opportunity to perform a T-CLOCS inspection.
Perform a T-CLOCS inspection
The Motorcycle Safety Foundation makes use of the acronym “T-CLOCS” for guiding the riders through a proper pre-ride inspection of their motorcycle. It is one of the most important things that you can do if you want to reduce risk while riding. It will be worthwhile to make it a part of your maintenance routine during the cleaning process. Safety-conscious riders who are looking to ride as much as possible pick a time every week for giving their motorcycle a do-over.
The more regular you are about checking your motorcycle for defects, the greater will be the chance to make repairs on the fly. This way, you can stay on the road and log those miles and live without regret. The last thing that you want would be to find out on a busy Friday evening that you’ll be out of commission for the weekend.
Here are the basics of a T-CLOCS Inspection –
- Tires and wheels – Thread depth, embedded objects, wear, loose spokes, brake condition, etc.
- Controls – Levers, handlebar, cables, pedals, throttle, hoses, etc.
- Lights and electrics – Headlamp, battery, lamp, brake/tail, lenses, turn signals, wiring, etc.
- Oil and other fluids – Levels, faulty seals, leaks, etc.
- Chassis – Frame, belt, suspension, etc.
- Standards – Bends, spring tension, cracks, etc.
What to look for when you’re inspecting your motorcycle
When you’re riding your motorcycle, your eyes should be on the road and your mind is free. Unless something is a miss, you aren’t thinking about the machinery of your motorcycle. Washing it will be your chance to inspect parts you may not otherwise easily see.
Is there something loose, like a footpeg or a shift lever? When you’re cleaning your chrome, are you noticing any damage to the heat shield? Washing the tires and wheels will be a great time to detect any loose spoke, a missing valve cap, or excessive tire wear.
Conclusion
Thank you for reading. Hopefully, now you know a lot more about cleaning Harley-Davidson bikes, how to clean Harley-Davidson bikes, inspecting your bike, and more. Cleaning a Harley-Davidson bike includes gathering the supplies, hosing down your bike with clean water, scrubbing the bike, rinsing the bike and drying it, and putting the final touches on the bike. With time, your Harley-Davidson bike will inevitably require a decent wash.
After all, your motorcycle usually takes on all kinds of rough conditions throughout the day. By regularly washing your bike, you’ll be able to keep it in a neat and usable condition while noticing any minute damages. Moreover, it’ll also prevent the small issues in your bike turn into major issues and cost you a fortune later on.

