Do you own a Harley-Davidson motorcycle and want to learn to do a burnout? If so, then you’re definitely in the right place.
To do a burnout on a Harley, hold the front brake tightly, rev the engine, and slowly release the clutch while keeping the throttle open. The rear wheel will spin, creating the burnout. Ensure you’re in a controlled area, as burnouts can damage tires and clutches.
In this article, you’ll get to know all about how to do a burnout on a Harley-Davidson bike, where can you do a burnout, and important tips to remember when doing a burnout. Stick around to know all the answers that you’re looking for.
Burnout on a Harley-Davidson bike
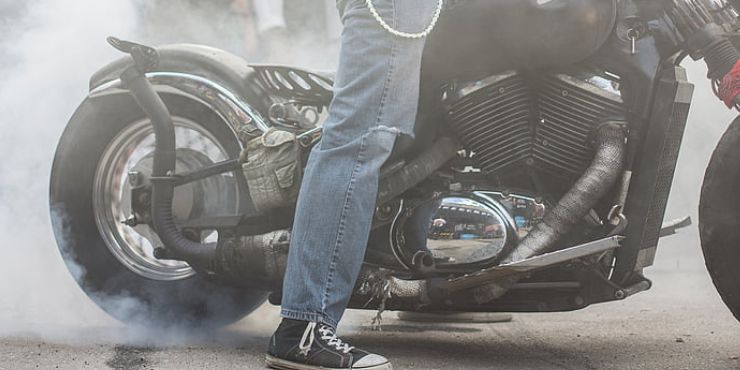
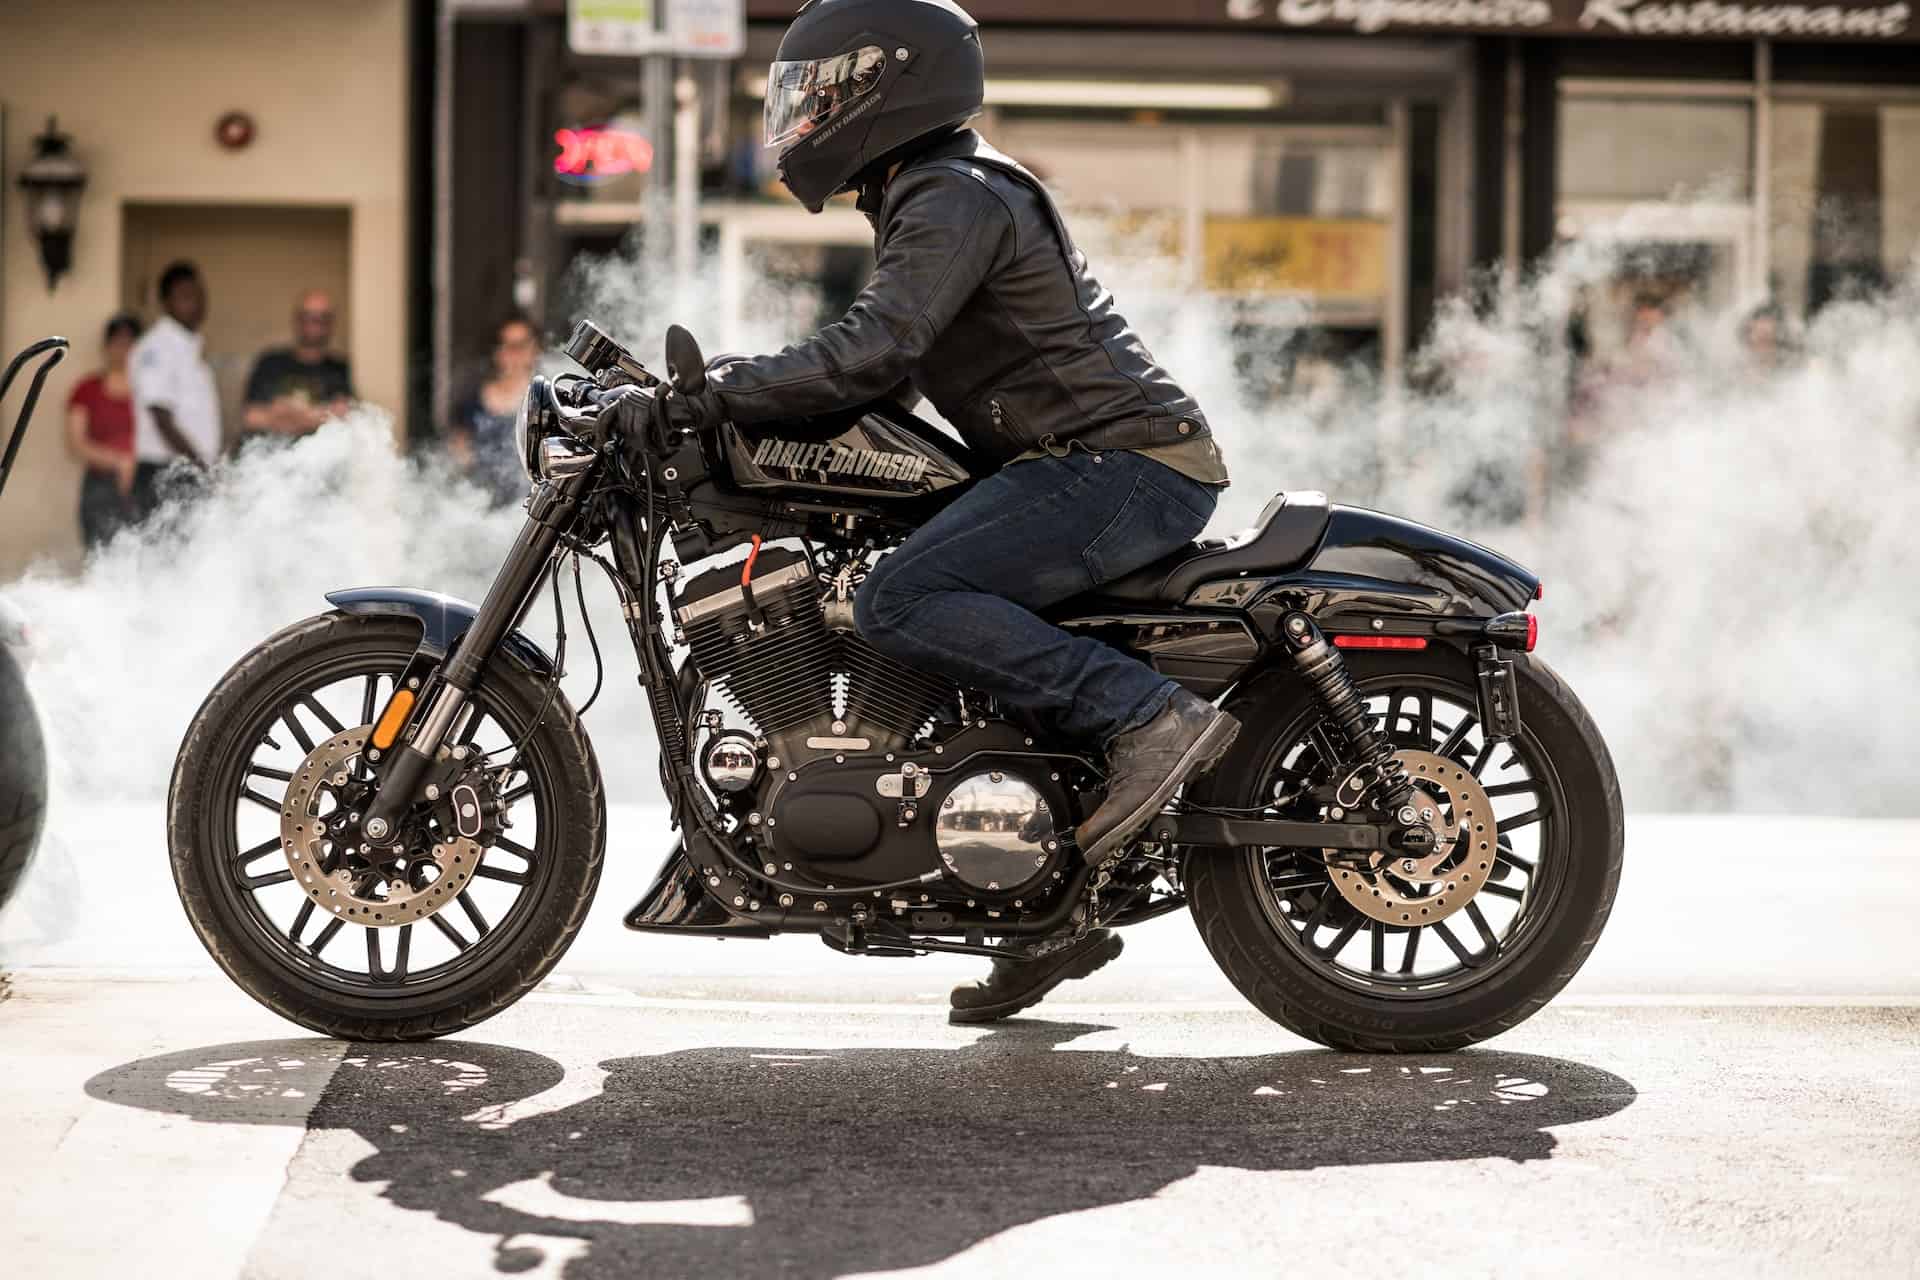
Are you a biker looking to learn how to do a burnout on a Harley-Davidson bike? Does it interest you that doing burnout is one of the most significant perks of owning a powerful bike? Burnout is an easy stunt, and it can be performed on your Harley-Davidson bike with ease. To do a burnout, you’ll need to know how to spin the tires of the bike. Throughout the spinning, you’ll need to keep the bike’s frame in a stationary position. This is usually referred to as peeling out.
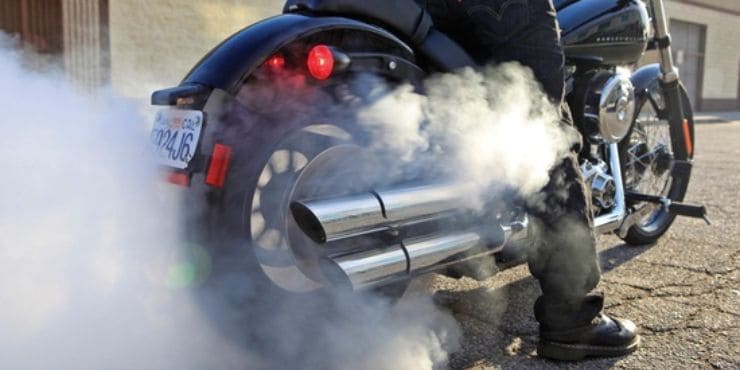
By performing a burnout, you’ll be able to create a big cloud of smoke. It can even be done by vehicles like cars, vans, and trucks. Burnout is a lot of fun, especially if you know how to do it on a Harley-Davidson bike. Whether you’ve got a cruiser bike or a sport bike, performing burnout is possible.
How to do a burnout on a Harley-Davidson bike?
Step 1: Stand without putting any pressure on the tires
Look for a desolate area. Wear a motorcycle helmet and get on your Harley-Davidson bike. Before starting the burnout, you’ll need to settle your posture. You should be standing straight in an upright manner with your feet flatly over the ground. While you’re standing over the bike, you cannot put too much pressure or weight on the bike.
It’ll prevent the tires from gaining traction. The tires shouldn’t have much traction. This is because a bike consisting of tires with too much traction ends up accelerating in the forward direction by itself during the burnout. This could lead to accidents and injuries.
Step 2: Start your motorcycle
After you’ve settled on the position, you should start your bike by inserting the key into the ignition ON mode. You’ll need to make sure that you’re keeping your bike in neutral gear. Now, the engine has to be started. As you’ve already inserted the key into the ignition mode, the engine will start warming up.
It’s important for the bike’s engine to be warmed up before you attempt a burnout on it. Until the engine has been warmed up properly, you’ll need to keep the engine in neutral gear. Before you attempt a burnout, the engine should run for at least 5 minutes or so.
After the 5 minutes are over, look at the temperature gauge and ensure that the engine has been warmed up. You’ll be able to see whether the engine has been warmed up or not by checking the dial. If the dial is around halfway, it’ll indicate that the engine is warmed up properly. However, if the engine is taking too much time to warm up, you should rev up the engine several times. By continuously doing this, it’ll help the engine warm up faster.

Note – You should never perform a burnout on a cold engine. This is the case as when you’re attempting a burnout on a cold engine, there’s a slight possibility that the bike starts to fizz and splatter. Moreover, the tires of the motorcycle might gain traction due to a cold engine. Sudden traction could cause your motorcycle to lurch forward. As a result, accidents might occur Therefore, if you’re looking to prevent any dangerous accidents, you shouldn’t perform a burnout with a cold engine.
Step 3: Pull the clutch lever
You should tightly grab the clutch lever using four of your fingers and slowly pull it back towards the handlebars. You’ll be able to find the clutch lever placed on the left handlebars. If your bike has a clutch on the right handlebar, you’ll need to grab and pull it with four fingers and apply the same technique.
Step 4: Hold the front brake
Now comes the time to play with your fingers. Use your right middle finger and grip the front brake firmly. It means that you’ll need to apply the front brake by keeping the right hand’s middle finger on it. Simultaneously, you’ll have to keep revving the throttle of the engine. You can do that by using your right hand to tightly grip the front brake.
It is recommended that you should pull the brake lever backward with your right middle finger only. Do it this way, as to rev the engine throttle, you’ll be needing the rest of your hand. If your bike’s throttle is placed on the left side, you’ll have to press the brake lever using your left middle finger.
Step 5: Shift your bike into first gear
In this step, you’ll need to shift your Harley-Davidson bike into first gear. You’ll be able to do that by clicking the gear shift pedal with your foot. You’ll need to engage the clutch with your left hand for preventing the bike from shifting into gear already.
Step 6: Rev up the engine
Now comes the time to hasten the bike’s engine by revving it up. There will be a red line placed at the top of the gauge meter. You’ll have to rev up the engine until the arrow has reached a point that’s at least 75% close to the red line. You can do that by turning the throttle down with your right hand. Simultaneously, you should be keeping an eye on the RPM gauge. See if the arrow has reached the point where it should.
You will have to commence revving up your bike’s engine at a low pace. Otherwise, the engine may be in gear mode and might start moving by itself. If you’re not careful, this can lead to an accident. Moreover, remember to warm up your engine before you put it into gear. This way, the tires can rotate at a high speed and obtain traction.
Step 7: Bend your posture slightly in the forward direction
You shouldn’t be putting too much weight on the bike’s rear tire. Hence, you’ll need to lean your body slightly forward. Moreover, you should be standing stable while keeping your feet flat.
This will allow you to exert the least amount of pressure on the bike’s rear tire. You must put less pressure over the rear tire, and otherwise it might attain traction. This traction can end up causing an accident.
Step 8: Release the clutch
For doing the burnout, you’ll need to let go of the clutch. You don’t need to ease off the clutch to disengage it. Instead, you must let it off by withdrawing all your fingers from the lever within a moment. After that, the bike’s engine should be shifted into first gear. Alongside that, the rear tire will start rotating and spinning rapidly. This will create the burnout with your Harley-Davidson bike.
Step 9: Finish the burnout by re-engaging the clutch and then releasing the throttle
Lastly, you’ll need to release the throttle and withdraw your fingers from over it. Simultaneously, you’ll need to re-engage the lever of the clutch. This will conclude the burnout stunt. To re-engage the clutch lever, you will have to pull the lever using your left hand.
This stops the engine from staying in the first gear and instead shifts it into neutral. Afterward, with your right palm, you should roll the throttle backward. However, you’ll need to remember that you keep the brake pressed the whole time. This causes the rear tire to cease moving and prevents the motorcycle from accelerating forwards.
It’s recommended that you should continue pressing the brakes until the motorcycle’s tire has stopped spinning. Once the spinning stops, the burnout ends as well. You can now remove your fingers from the brakes and give them such much-needed relief.
It’s important to remember that you shouldn’t burnout for too long. This is the case as if you hold the burnout for long, the rear tire might get worn and torn. For creating a plume of smoke, you will need to hold the burnout for a minute.
Where can you do a burnout on a Harley-Davidson bike?
You should only perform a burnout on a flat, hard, and level surface like tarmac or concrete pavement. If your burnout technique uses wheel spin through acceleration for charging up both wheels, they might break loose from soft ground. This can lead to potential accidents. Moreover, you must remember that you shouldn’t perform the burnout in a crowded area. Prefer doing it in an empty area with very few people around.
Why you should learn to do a burnout?
Bikers usually perform burnouts for a wide variety of reasons. Some of the most common ones include –
- Experimenting with the tires
- To enjoy the excitement and thrill that comes from the burnout stunt
- To show off in front of friends and other bikers
- Cleaning the wheels of the bike
- Practicing it to compete in burnout competitions
- Trying to get their bike up and running
- Testing if all the parts of the bike are working properly
- For warming up the tires and making them responsive
Important tips to remember when learning burnouts on a bike
Higher tire pressure makes this easier
When you’re still practicing, you should use older tires, as they’re trying to burn the rubber off them. There’s no point wasting the grip on your new tires. The higher the tire pressure, the easier it will be for the bike’s tire to spin in a burnout.
You shouldn’t start at full throttle
It would be best if you give yourself some space to throttle, especially if you’re practicing a rolling burnout. Eventually, you can go full throttle. However, you should first start by feathering the clutch while your bike is between half and three-quarter throttle. If you start your bike in a burnout with full throttle, it won’t have any room for you to change the speed at which you’re performing a rolling burnout.
Get a feel for the bike’s brakes
You need to have decent control on the brakes if you’re looking to try a burnout for the first time. You should get comfortable with a strong and modular front brake. When doing a static burnout, hold down your bike’s front brake entirely. A rolling burnout will require much more control.
If you’re staying still, you’ll be able to engage the front brake 100%. If you’re trying a rolling burnout, start off by being in motion. Then, gradually apply the brake until the rear wheel can break the tire loose. This will range from 15% to 40% of the braking power.
Level up from static to rolling burnouts
You should start off with the basics of burnouts and then level up. The basic method would be the static burnout. The natural progression would be to start practicing a rolling burnout at slow speeds.
Once you have figured out and perfected the technique of static burnout, start learning to roll burnout. Start learning the rolling forward movement by reducing the front brake gradually until your bike is in motion. Apply more brake if needed to slow down and control your bike. Remember, the clutch will be your safety net. If you are pulling in the clutch completely, your bike will not move.

Get fit to perform better burnouts
This is something that not many riders think about, but it is essential. You will be engaging your core and arms the most. You must have strong arms and core such that you’re able to keep yourself and your bike stable. To improve your physique, you should do strength mobility training and have a healthy diet. This will help you be flexible and liquid on your bike.
Conclusion
Thank you for reading. Hopefully, now you know a lot more about how to do a burnout on a Harley-Davidson bike, where can you do a burnout, and important tips to remember when doing a burnout. Learning how to do a burnout on a Harley-Davidson bike is a piece of cake if you know the right technique. The technique involves having a stable posture, starting your Harley-Davidson bike, pulling the clutch lever, holding the front brake, shifting your bike into first gear, revving up the engine, bending forward slightly, releasing the clutch, and finishing the burnout.

